A few days ago, I felt a creative urge, so completed two dozen informal thank you cards, to send to friends, colleagues, and family to express mahalo and appreciation for the kind gestures while I was hospitalized at Queen’s Medical Center.
I would have wanted to spend a bit more time on these notecards, but I wanted to send out quick Wild Cards notes to acknowledge the courtesies and niceties.
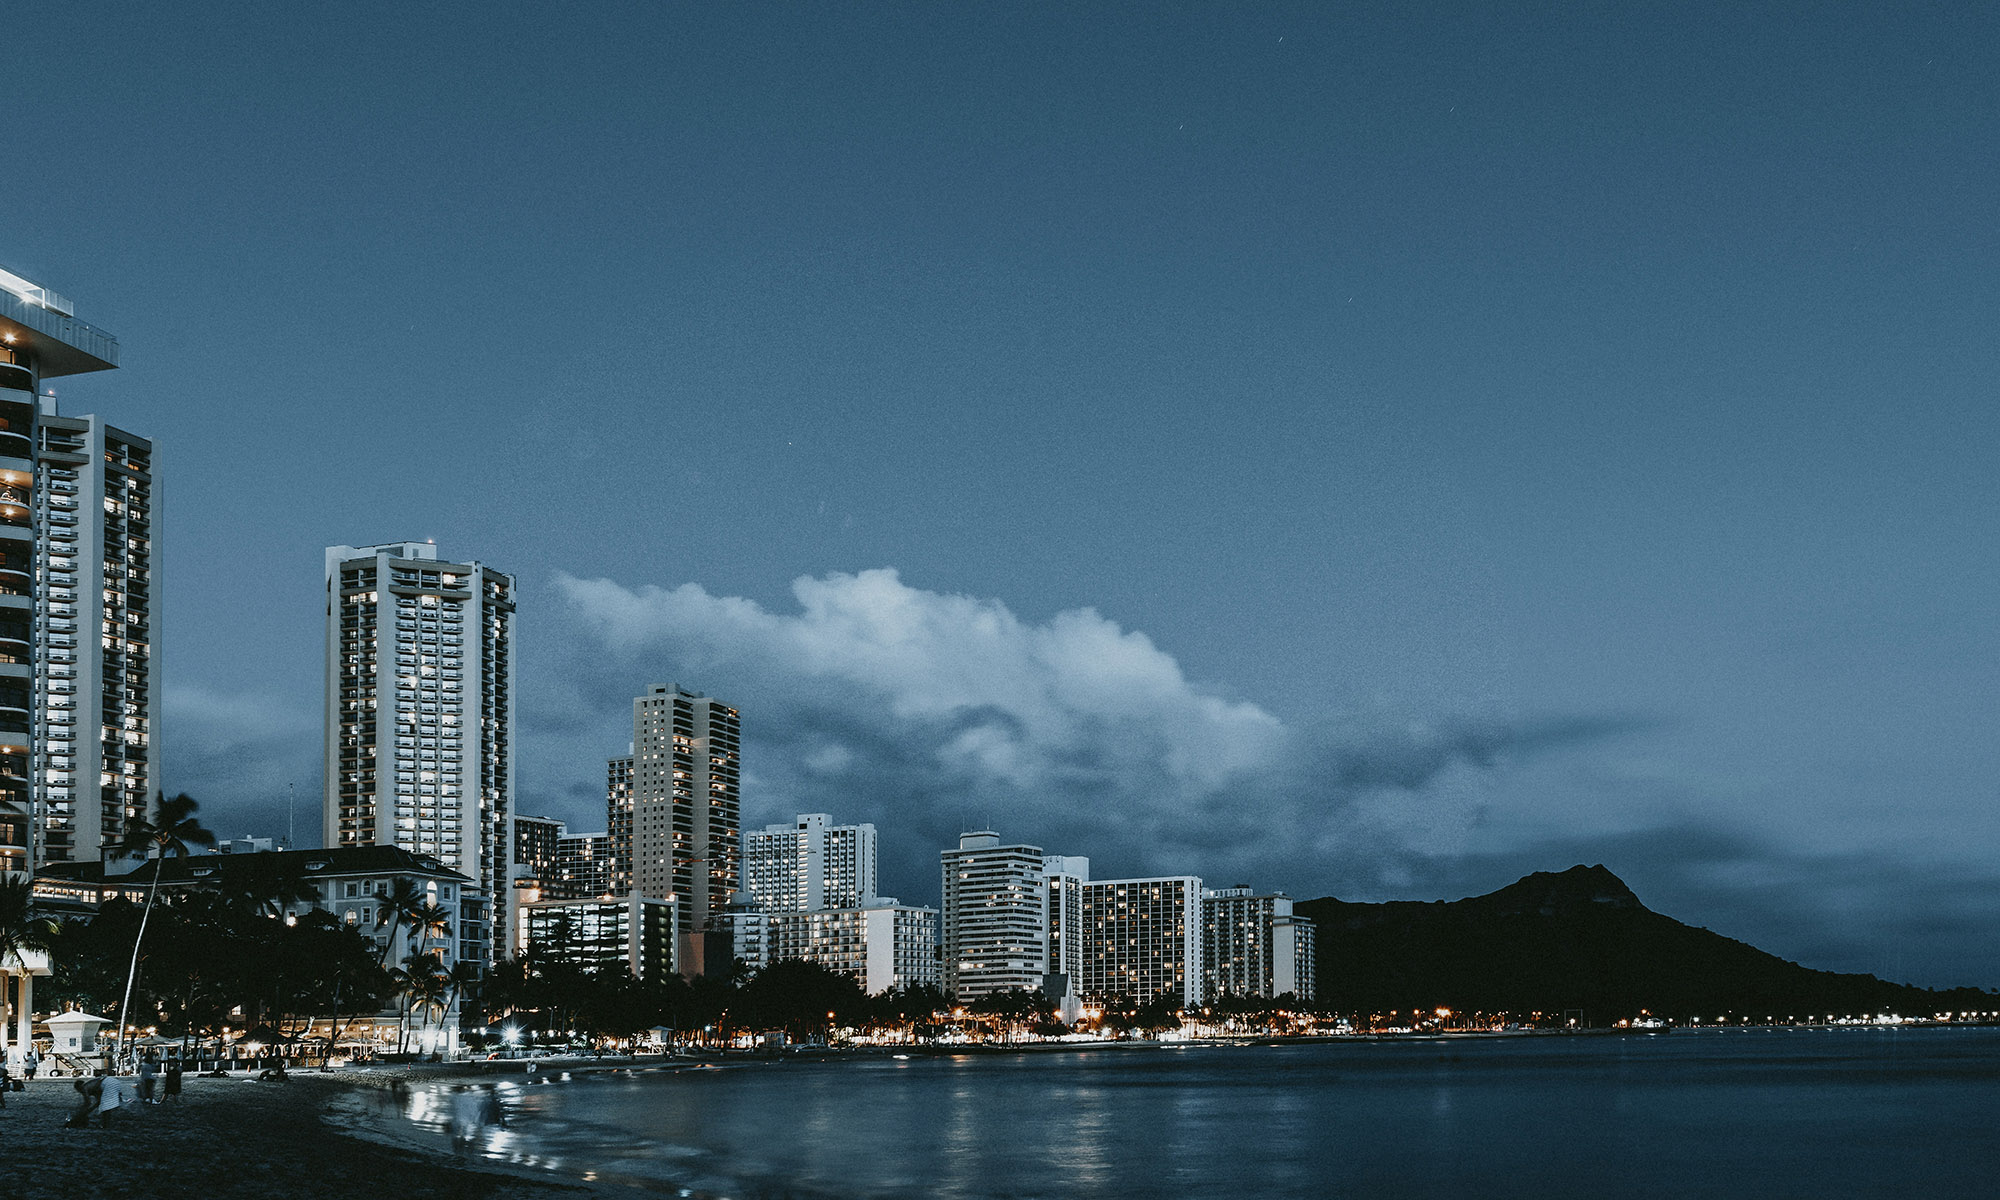
I’ll be seeing my first Broadway shows in the days ahead, when I make my first visit to New York in nearly four years.
The brakes started in late 2019, when the pandemic shut down pretty much everything.
I’ve gained a lot more confidence since, as I adjust to a number of changes.
It’s our first real vacation, so my wife Vi has been a bit uneasy, about the trip. But we need to make the plunge and re-ignite our love for The Big Apple.
It hasn’t been easy.
We’ve traded in 300,000 Hawaiian Air miles for a pair of first-class tickets and heading for JFK.
For the return trip from Newark, N.J., another 330,000 miles were required for United first-class seats.
Hotel searches revealed costly rates in the Theatre District, where we’ve been staying for our annual N.Y. visits in the past. The last time in the summer of 2019, rates at the New York Hilton on Sixth Avenue topped at more than $400 a night; didn’t bother checking this year, because we wanted to get room in the midst of the theater hub. A night at the Marriott, where we were hoping to book, was about than $450. Three other sites were on our list, where tariffs were in the upper $300; we decided to try the Hotel Edison on W. 47th St., a central location, and the tab will be well under $300 per night, for 10 nights. These rates don’t include the excessive N.Y. room taxes. But the hotel has a gym, which I’ll check out.
One tradition hasn’t changed for decades. I always send postcards to family and friends, but stopped buying postcards because they became pricey for the nice ones, but somewhat impersonal. So as a cardmaker, I started making New York note cards by the dozens, and these creations reflect my craft and personality, and become a keepsake (to recipients) of my silly artistry. Yep, made a bunch of notecards, ready for scribbling and then mailing fromThe Big Apple.
But the real change this year has been in the show ticketing process. I’ve been scoping the slate of shows, and finally booked 11 shows — yes, 11 only because there are no shows to book a No. 12 on Monday.
For my 2019 visit, online show reservations meant you could print your own with the usual bar-coding, pronto. Not anymore. Your reservations are sent two-weeks prior of booking dates.
Paper-ticketing still exists, you know, by printing out the QR codes that have finally been sent.
It’s the e-ticketing that was frustrating, with a few reservations directed to Seat Geek, an app that keeps your e-seats, downloaded on your iPhone. Three shows went directly to that site, which means no more souvenir ticket stubs collectibles. The plus: you can’t lose your tickets or forget ‘em at home. The reality: you can’t lose your phone, where some of the admissions are stored. This is the future of ticketing.
Online sales require prompt action; you have to be quick at getting in your data and essential searches for seats, and before you know it, you’re reminded you have perhaps 10 minutes to rush through the process, otherwise you have to start all over again. Guess who started the process over and over a couple of times. Almost as bad as airline ticket-buying. Sigh…
With one show, I simply couldn’t complete the crush to download to my e-wallet, not Seat Geek, and when I attempted to get those QR codes printed, discovered that these weren’t going to be processable. I called Tele charge and was instructed that the only way I can get access was to bring my receipt with order number to the box office on day of performance, no earlier, to enable the box office to print out my tickets.
Wonder if they’ll be actual tickets, or the one with bar codes.
Since I’ve used a walking cane for stability on foot, during my last two or three Broadway visits, I’ll continue to do that, with an additional element: I’ve rented an electric wheelchair for use whenever a walk might be taxing, and surely on the day I plan to visit a Trader Joe’s store and then wheel on over to the nearest post office, to mail ‘em in priority boxes. It used to be a walk-over, but these on-foot endeavors seem to get longer and wearier than the past.
The wheelchair will be a boon to museum visits, and I won’t need to wait on one floor while my wife views collections in other floors.
Will continue to purchase Metro Cards, to catch the buses and the subways; on some days the wheelchair will sit still in my hotel room. Most subways don’t have elevators so walking up and down those endless stairs will count as some of my exercises..
The point is, New York can still be a prime destination, even for those with some handicaps. You just have to move at your own pace, with your own plans, with your own orientation. Go Slow will be my mantra.
Wish me luck; will have lots to share upon my return…
Meanwhile, here are last week’s Broadway grosses
The after-Tony crush has yet to appear, at least for the week ending June 18.
The reigning shows, in our Lucky 7 list, continue to hold on to the lead, with this year’s winners like “Kimberly Akimbo” not yet connecting with ticket-buyers.
The Broadway League, which provides the numbers, revealed the leaders:
1—“The Lion King,” with $2.349 million.
2—“Hamilton,” with $1.957 million.
3—“Sweeney Todd, the Demon Barber on Fleet Street,” $1.935 million.
4—“Funny Girl, $1.609 million.
5—“MJ, the Michael Jackson Musical,” $1.587 million.
6—“Aladdin,” $1.532 million.
7—“Harry Potter and the Cursed Child,” $1.392 million. …
Have you noticed the surge in cost of vellum or cover stock, a staple in paper crafts?
As a card-maker hobbyist, I’ve been using the vellum paper for decades. It’s got more body and stiffness than the everyday document “typewriter paper,” what you commonly use in your copier.
Back in the day, a ream (250 sheets, 67 lbs.) cost under $5 a ream, then periodically became more expensive over the past four decades.
Springhill cover stock paper.
It was more than three years ago, prior to the start of the COVID pandemic, that I bought my last ream of plain white vellum paper. If you’re a hobbyist, you know that these cover stock paper comes in a range of colors, from pastel pink and blue, to yellow and green, and even tonier hues of orchid or peach.
Prices have been gradually escalating, like everything else, to $16 and $18 a ream…the last time I purchased several reams.
But ouch! When I visited Fisher’s the other day, the price tag was more than doubled, to $30-plus for a ream for the Springhill brand, the one I usually bought. For red, and dark colors like purple and garden green, I had to purchase another brand at Office Depot that was always costlier.
At Fisher, I located another brand, Hammermill, for under $19, so purchased that.
But I wanted to find out what comparison costs were at Office Depot and not surprisingly, the price tags were over $30 for cover stock and even standard copier paper.
It might be cheaper to shop at Amazon, which sells the Springhill product for $16.34.
Besides card-making, I need the vellum paper to create mounting labels for the holiday pins I make.
Just wondered if anyone else has encountered the soaring cost of paper.
To my network of friends and allies, check your mailbox: mailings are out to you.
The pins were fun to make, but had a last-minute burst of creativity: concocted one shadow-box for Valentine’s, already distributed to a longtime buddy, and shared here.